You are here
Gardeners Checklist: Here Is What to Do on the Week of Jan. 22
Gardeners Checklist: Here Is What to Do on the Week of Jan. 22
By Ron Kujawski
With all the recent frigid weather, it may be hard to believe it’s almost time to start sowing seeds for flower and vegetable transplants. However, before that can happen, make sure you have all seed starting supplies and equipment on hand. If you’re new to indoor seed starting, here’s a brief checklist of items needed:
• Seeds. I guess that goes without saying; you can’t start seeds without seeds. Garden centers have already stocked racks with flower and vegetable seed; shop early to get what you want.
• Growing media. There are many commercial seed starting mixes. The ones I prefer are mixes of peat moss and vermiculite or perlite with small amounts of fertilizer. Generally, I avoid starter mixes with soil unless the product specifically states that it is sterilized. Most often I make my own starter mix by combining two parts fine vermiculite with one part milled sphagnum moss. Since this mix contains no plant nutrients, I apply dilute solutions of a general-purpose water-soluble fertilizer at weekly intervals once seedlings develop a set of true leaves.
• Containers. Containers for seed starting include plastic, fiber, or wooden flats (a flat is just a shallow box), plastic or clay pots, fiber pots (always moisten these just before using), or specialized seed starting trays (often called plug trays for the individual pockets or cells in the tray). You can also improvise by using milk cartons, egg cartons or my favorite: the wooden crates in which clementines are sold. Whatever containers are used, be sure they are clean and sterile. Wash containers in soap and water; follow with a rinse in a solution of one part household bleach in nine parts water.
• Heat. Preferred heat is bottom heat. That conjures visions of people sitting on their seed flats, like mother hens atop eggs, waiting for seeds to sprout, but bottom heat simply means that the heat source should be below the seed starting container. This ensures even heat distribution and even seed germination. Any warm location will do but I prefer to use heating mats.
• Plastic bags or plastic sheets. Seed trays, flats, or pots must be covered or enclosed to keep the germination media from drying. In the old days, I remember growers covering seed flats with sheets of newspaper until seedlings emerged. Whatever works!
• Light. Once seedlings appear they’ll need plenty of light for good growth. Lack of ample light leads to weak spindly growth. A sunny window can provide a lot of light but I don’t chance it. I grow my seedlings in the basement under several four-foot long LED light fixtures. No need to use high priced grow lights; LED or cool-white fluorescent tubes work great. Keep lights about four inches above seedlings as they grow, and leave lights on for 14 hours per day.
I’ll have more instruction on growing your own transplants from seed in the weeks ahead.
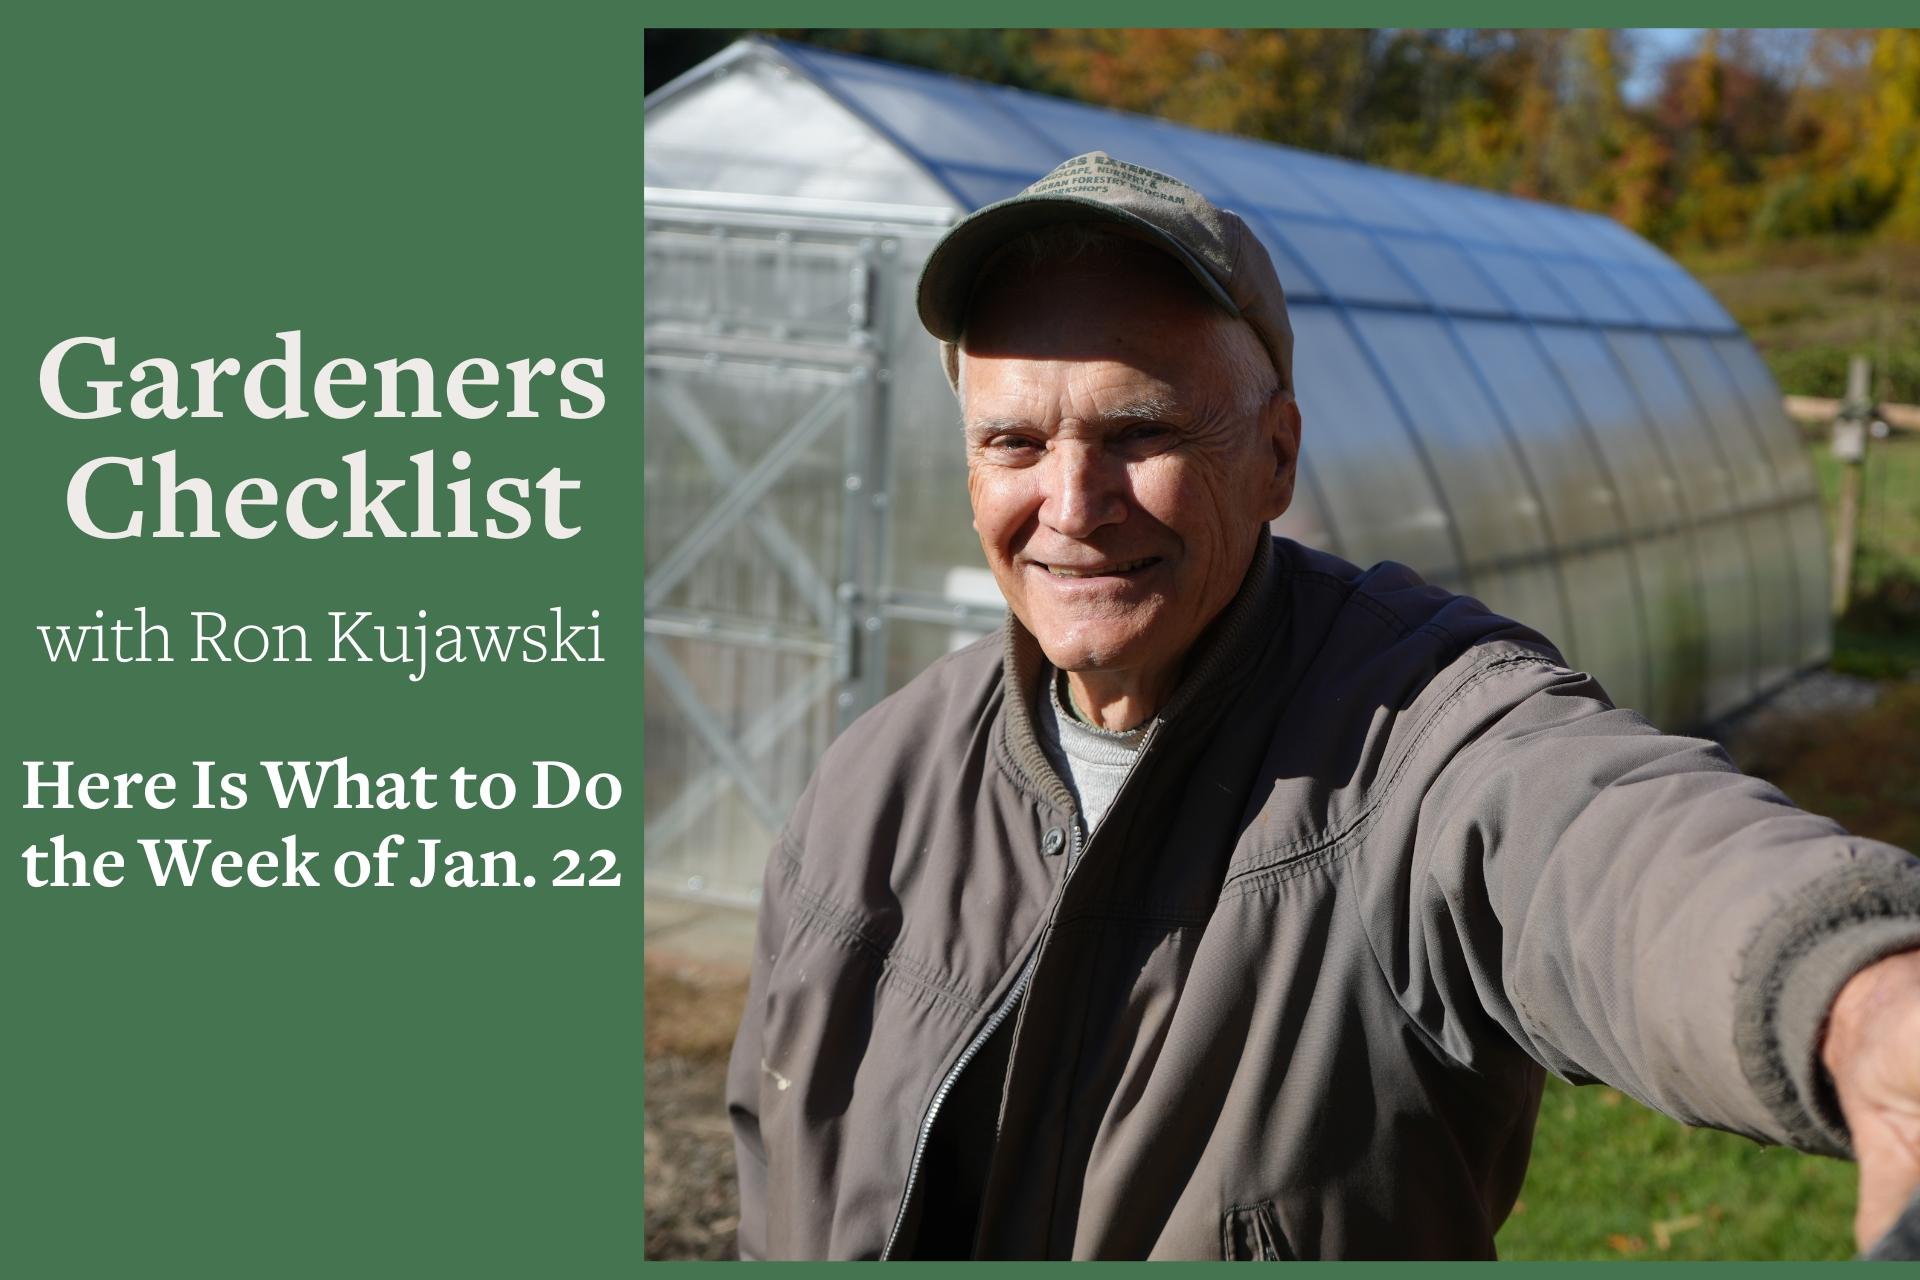
Ron Kujawski began gardening at an early age on his family's onion farm in upstate New York. Although now retired, he spent most of his career teaching at the UMass Extension Service. He serves on Berkshire Botanical Garden’s Horticulture Advisory Committee. His book, Week-by-Week Vegetable Gardener’s Handbook, is available here.
Help Our Garden Grow!
Your donation helps us to educate and inspire visitors of all ages on the art and science of gardening and the preservation of our environment.
All donations are 100 percent tax deductible.


